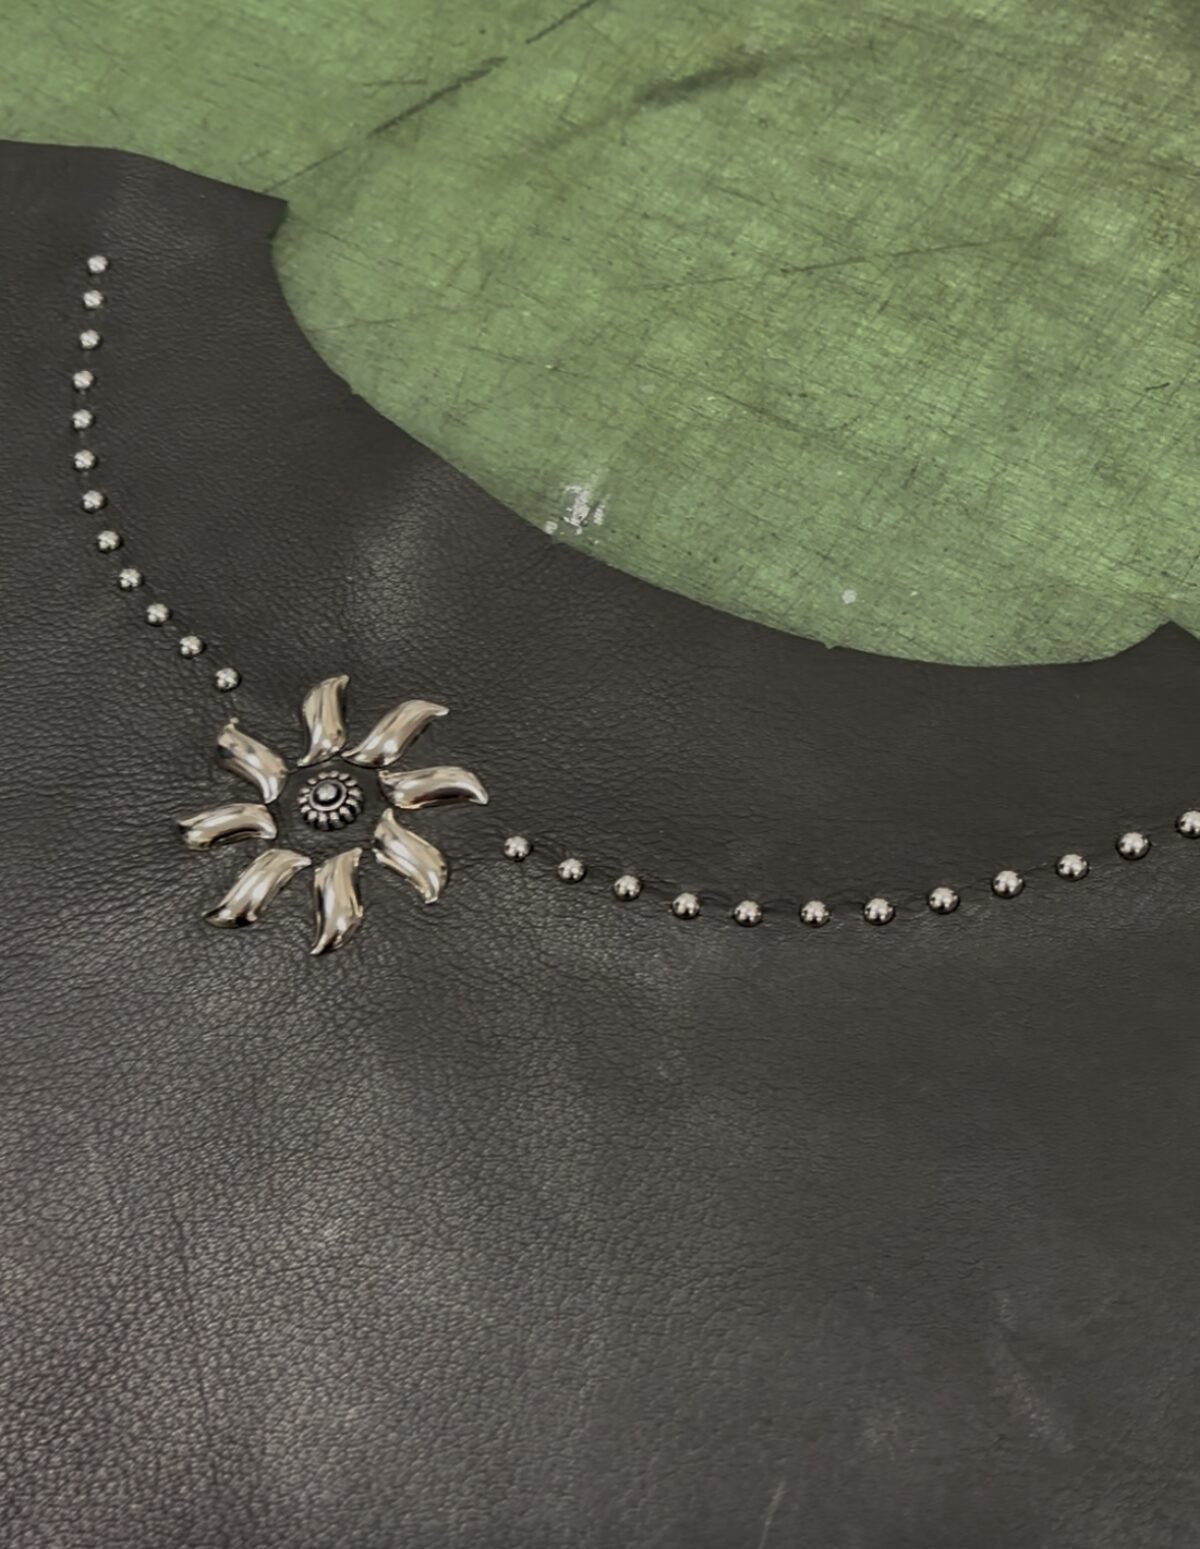
スタッズレザー制作工程~美しいラインを生み出す穴あけと手作業の技
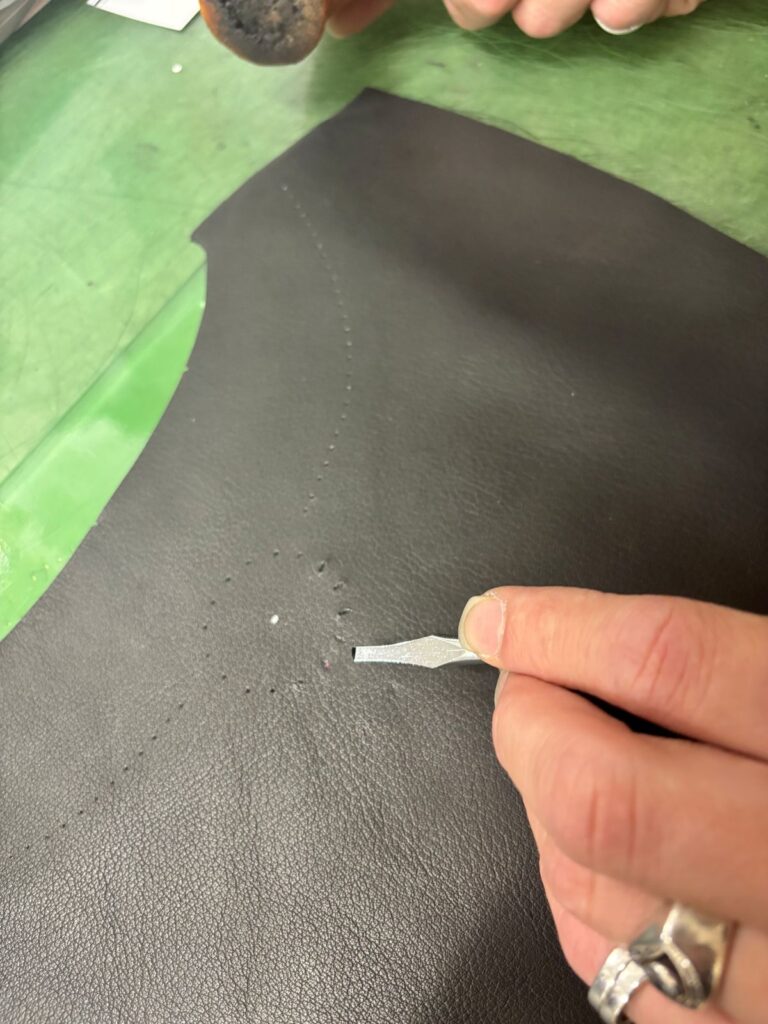
スタッズを一粒打ち込むためには、2本の脚が通る2つの穴を正確に開けなければなりません。
位置が少しでもずれると、美しいラインは生まれません。
集中力と根気が求められる工程です。
English
Each stud has two prongs, so two perfectly positioned holes must be punched before it can be installed.
Even the slightest misalignment affects the final appearance.
This step demands patience, precision, and complete concentration.

STEP2 スタッズを植える
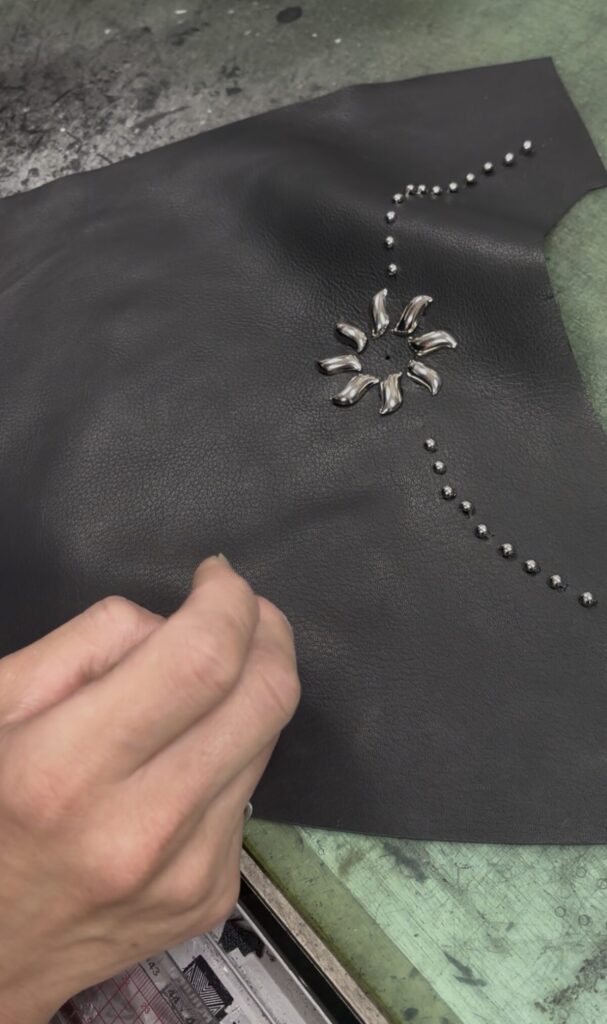
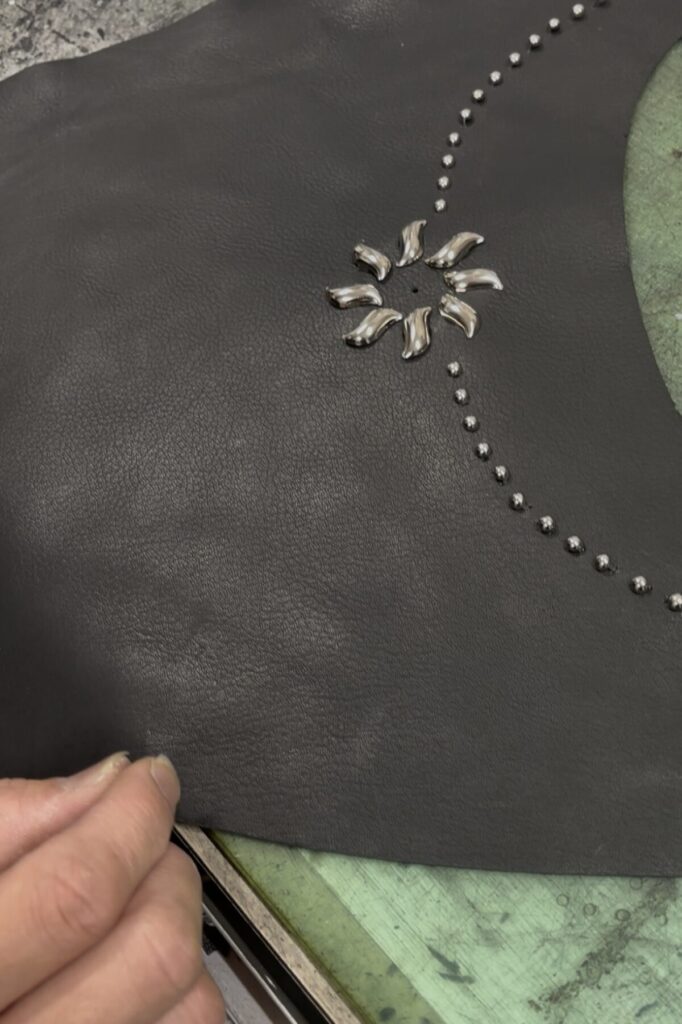
穴を開けたら、4.5mmのスタッズを一粒ずつ丁寧に植えていきます。
シンプルな作業に見えますが、均一な間隔と美しい曲線を保ちながら進めるには、高い技術が必要です。
English
Once the holes are prepared, each 4.5 mm stud is carefully placed by hand.
Although the process appears simple, maintaining perfect spacing and smooth curves requires years of experience.
STEP3 見えない部分にも職人の誇り
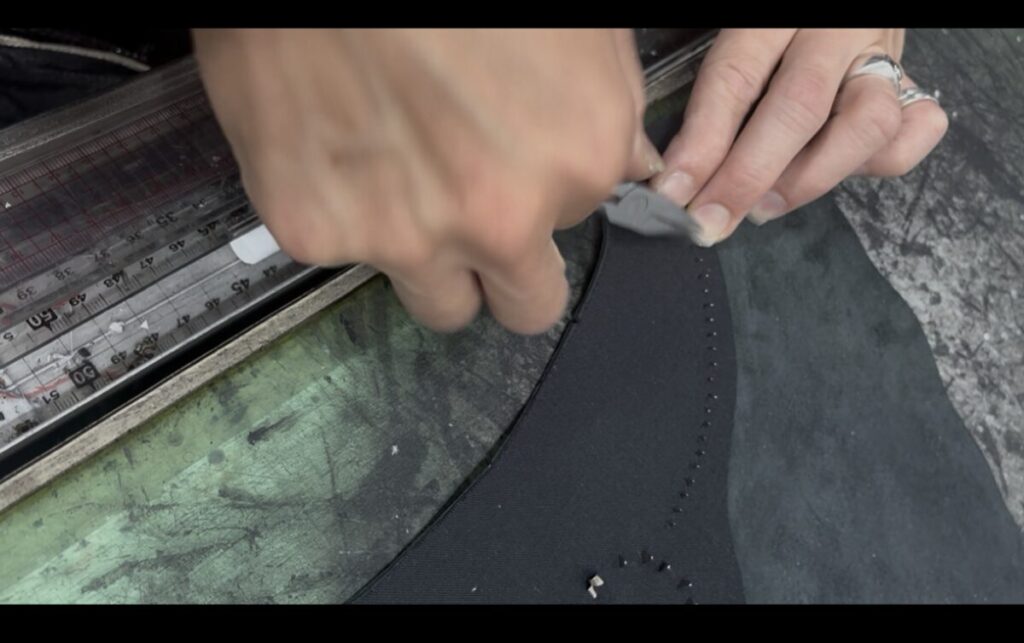
革を裏返し、裏側へ出た脚を一本ずつラジオペンチで曲げていきます。
完成すると見えなくなる部分ですが、この工程こそ品質を左右する重要な仕事です。
English
The leather is then turned over, and each prong is bent by hand with needle-nose pliers.
Although this work is hidden once completed, it is one of the most important steps for durability and quality.
写真⑤(裏側をハンマーで固定)
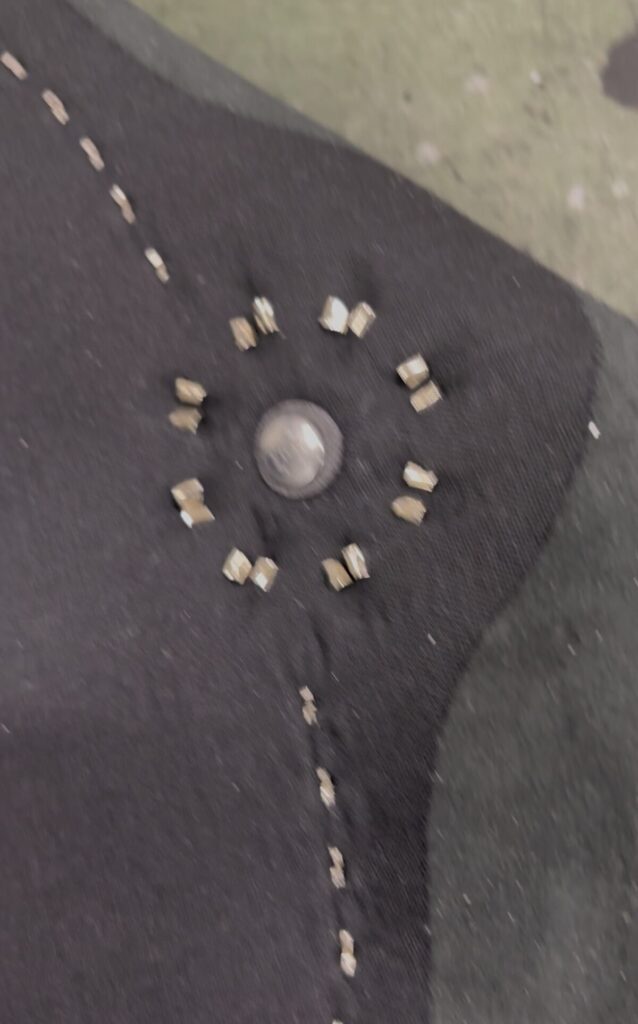
最後にハンマーで脚を丁寧に固定します。
見えない部分まで美しく仕上げること。
それがObeliskのものづくりです。

English
Finally, each prong is carefully secured with a hammer.
Even the unseen details deserve perfection.
That is the philosophy behind every Obelisk creation
STEP4 スタッズパーツの完成
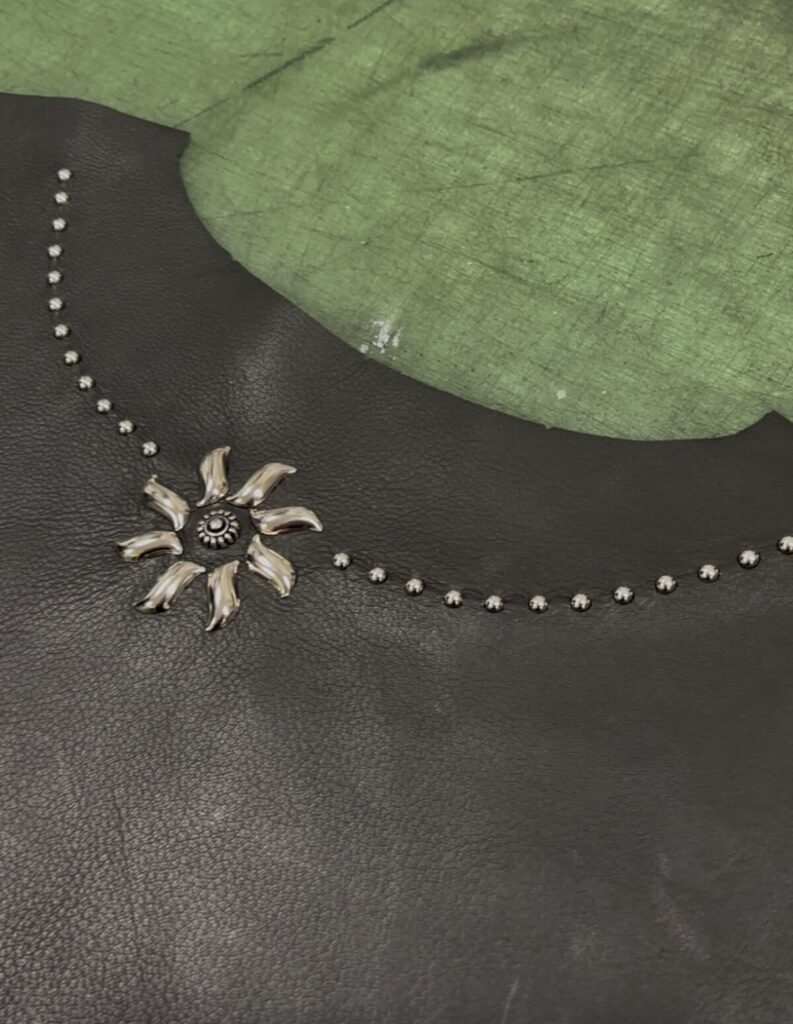
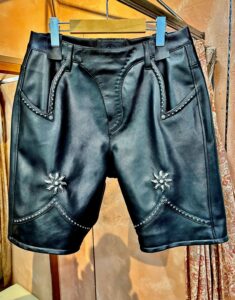
こうして、一粒ずつ積み重ねた時間と技術が、美しいスタッズデザインになります。
大量生産では決して表現できない、職人の仕事です。
English
One stud at a time, patience and craftsmanship come together to create this finished design.
This is something that can never be achieved through mass production.
最後に完成写真(写真⑥)
まとめ 最後のメッセージ
一粒のスタッズにも、職人の誇りがあります。
Obeliskは、見える部分だけでなく、見えない部分にも心を込めて製作しています。
GET YOUR ONLY1
English
Every single stud carries the pride of our craftsmen.
At Obelisk, we believe true craftsmanship exists not only in what you can see, but also in what you cannot.
GET YOUR ONLY1





コメント